


工作中经常会遇到这样的问题:本来是一张白底的纸张,但用手机拍摄成图片后却是灰蒙蒙的,有时候还显得不太清楚。
如下面这张图图:
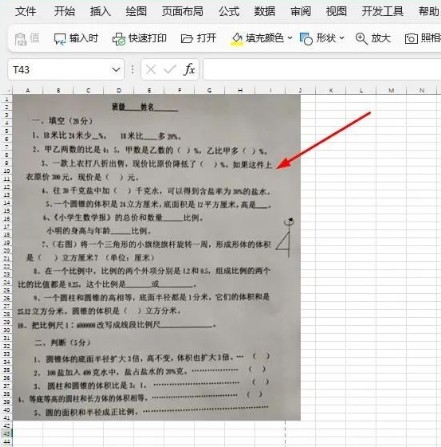
这种灰色的图片,当你打印预览时当然也是这种颜色,非常不美观,影响视觉效果。
这样打印出来即不清晰又费墨,怎么才能处理好呢?
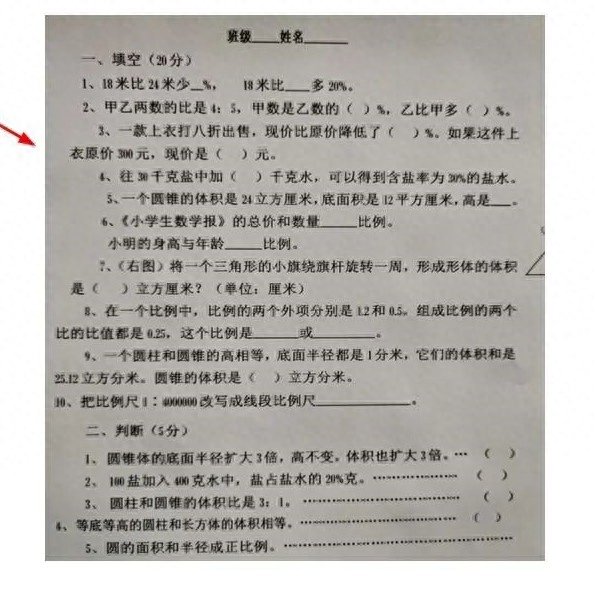
用PS?可安装软件很费劲啊,而且很多人还不会用,手机虽自带"PS"功能,可以用自带的滤镜功能把照片设置为“黑白”或锐黑。
再对比一下,底色变白多了,但还是有灰底。
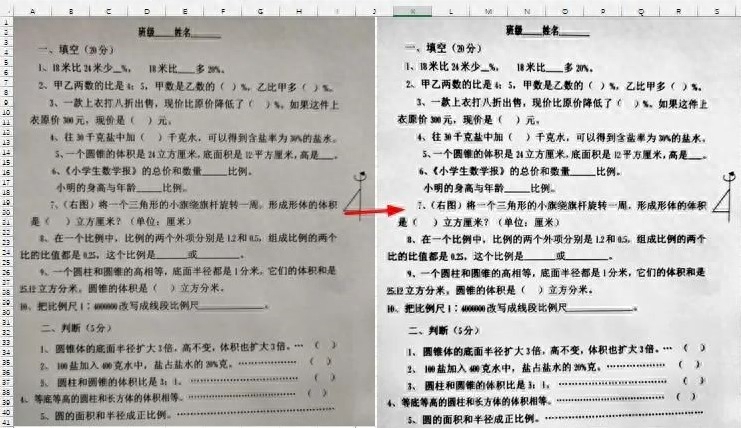
其实,不用PS也不用手机滤镜,用Excel自带图片处理功能即可。
用下面2个步骤就能快速将图片增加亮度。
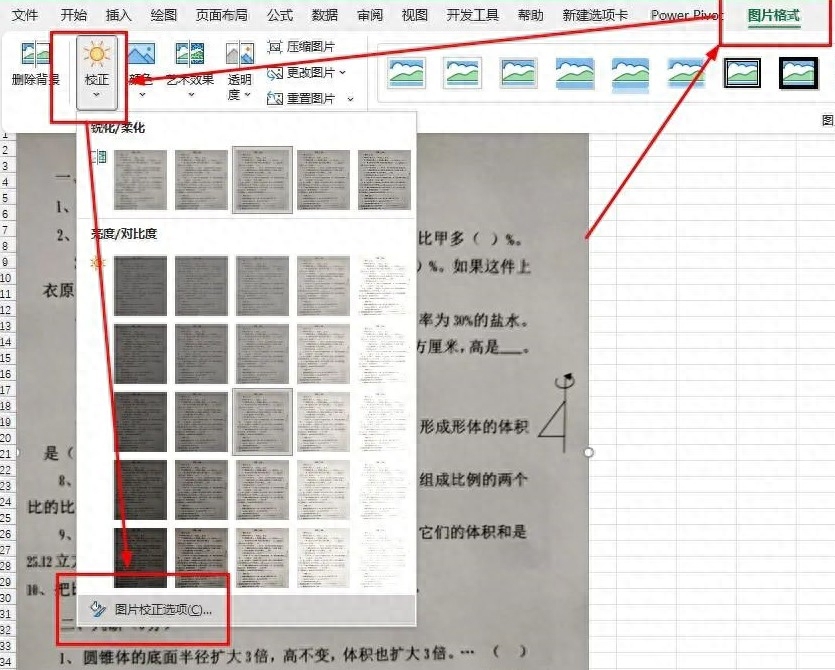
① 选取图片 → 图片格式→校正→ 图片校正选项
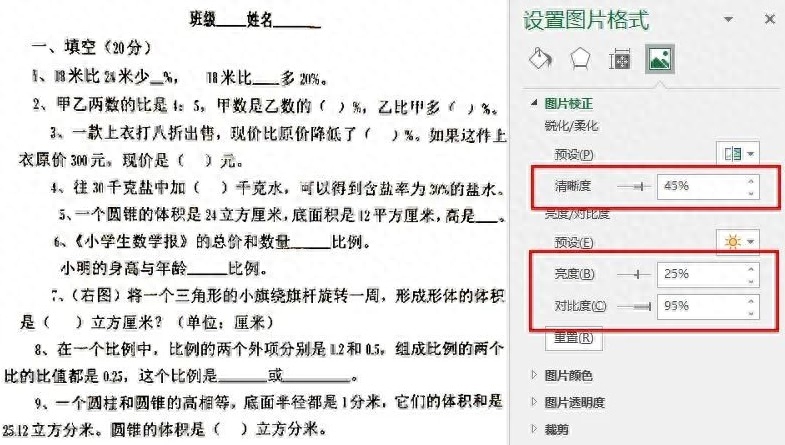
② 继续调整清晰度、亮度和对比度的值,直到满意为止。
注意:清晰度和对比度并不是越高越好,能让图片变白而且保持清晰就是最适合的。
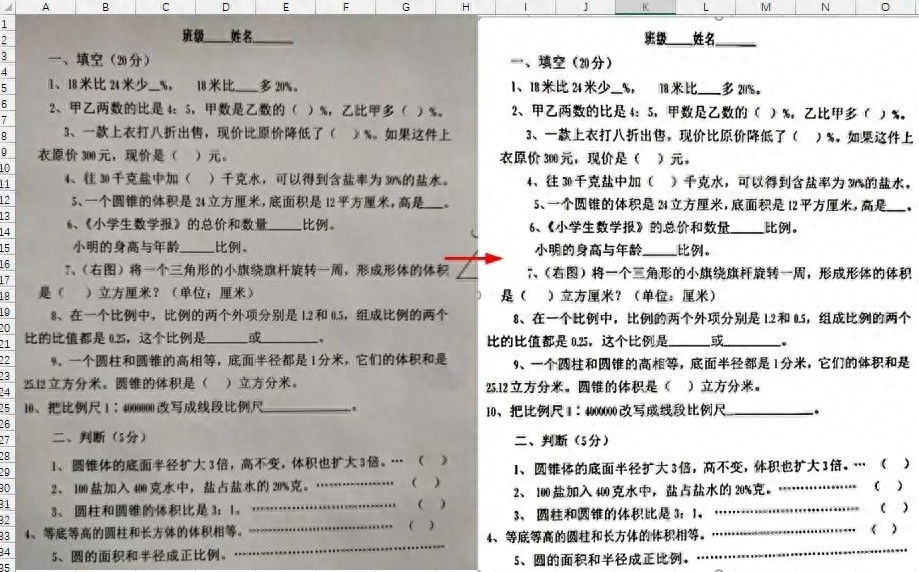
最后再对比一下,是不是变白了?
Excel的图片处理功能虽不及Photoshop强大,但简单的修图还是可以的。
怎么样,这波操作是不是简单实惠呢?马上去试试吧!