Word文档打开时,里面的行数及行数字都是默认设定的。但是在我们平时写论文的过程中,我们需要自定义Word的行数及行数字。这该怎么办?

看到我身边的朋友都是采用字符间距来解决这个问题,但小编觉得这个方法不是很好,有时候存在误差不是很准确。
今天小编教给大家一个超实用的方法,跟我一起来看看吧!

想要了解更多的Word、Excel等Office办公技能,欢迎“关注”小编,每天都有新技能推荐!
例如我们想要设置成每行21字,每页20行,该怎么设置?

具体操作步骤如下:
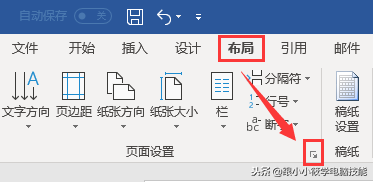
1、新建一个空白的Word文档并打开 -- 点击“布局”选项卡 -- 点击“页面设置”右下角的图标。
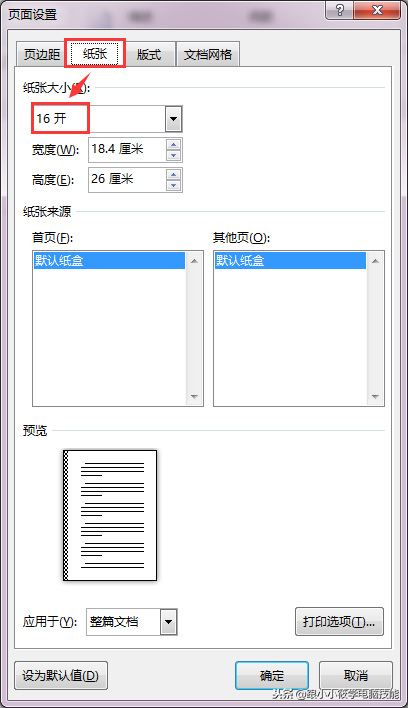
2、弹出“页面设置”对话框 -- 点击“纸张”选项卡 --“纸张大小”选择“16开”。
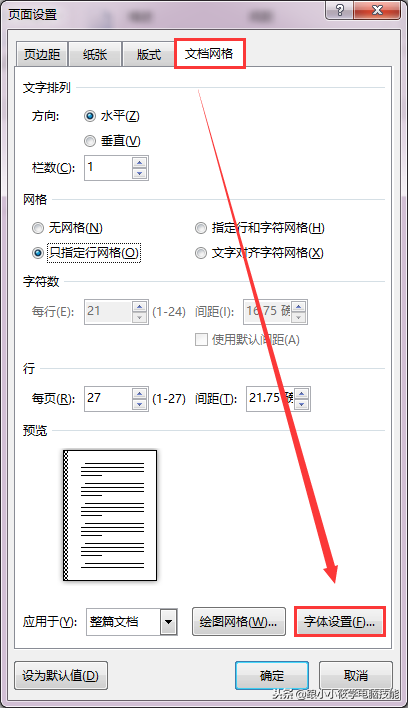
3、切换到“文档网格”选项卡 -- 点击“右下角”字体设置。
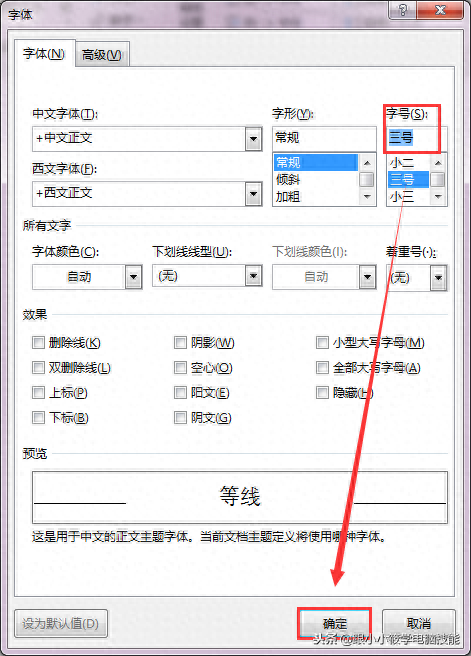
4、弹出“字体”对话框 --“字号”选择“三号”字 -- 点击“确定”按钮。
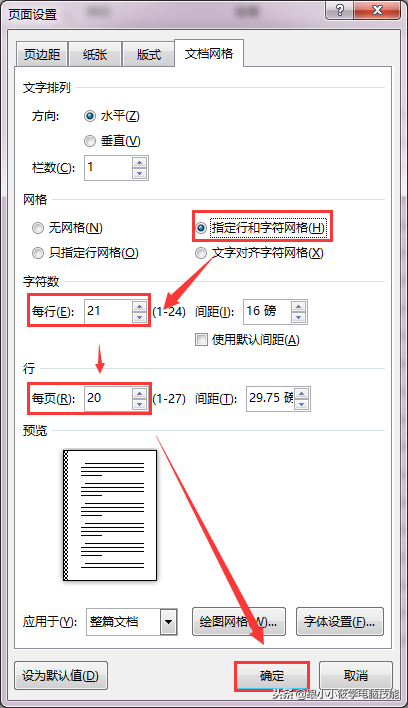
5、返回到“文档网格”选项卡 --“网格”选择“指定行和字符网格”--“每行”设置成“21”、“每页”设置成“20”-- 点击“确定”按钮即可。
6、完整动图演示。
以上就是自定义设置Word文档的行数及行数字,你学会了吗?欢迎转发点赞,有问
题评论区留言哦!
想要了解更多的Word、Excel等Office办公技能,欢迎“关注”小编,每天都有新技
能推荐!